Timber window beading might look like a small detail, but it does a big job. It’s that slim strip of wood that holds your glass securely in place and gives your windows a clean, finished look. Without it, the glass can loosen, drafts sneak in, and the window starts to lose its strength. The tricky part? These thin little beads are fragile. About 80% of them break during glass reglazing or repairs. It’s a simple piece with a big purpose, and knowing how to handle or replace it can save you time, money, and a lot of frustration down the line.

What are timber beading on timber windows?
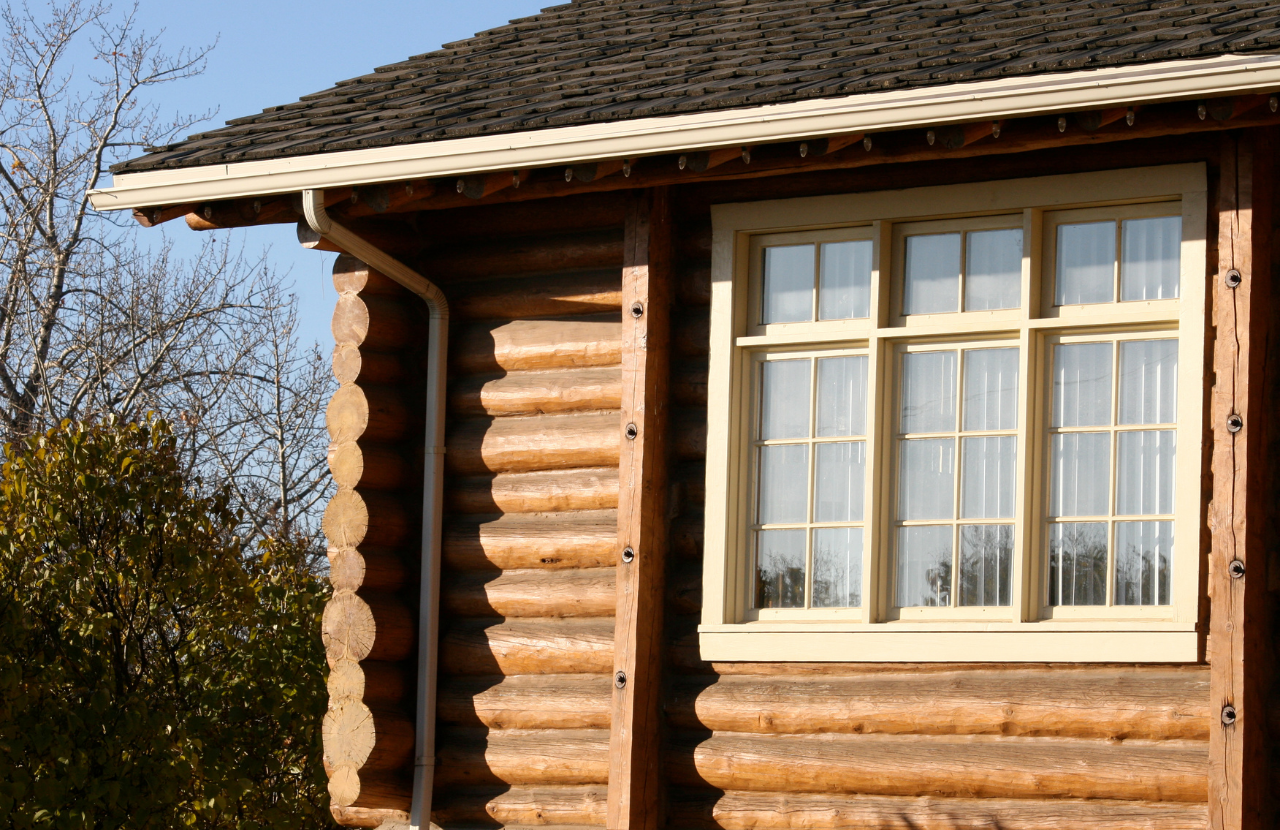
They are the thin pieces of timber which are fitted onto the glass to finish off the edges/front of the window.
Many timber windows have beading which is created to match the window when they are first made. Over time timber beads can deteriorate. More specifically, they are usually very thin and can break easily when removed to replace glass or reglazing a window.
Of course, all care is taken when removing such beading. However the reality is that there is up to an 80% chance of beads breaking during removal and reinstallation. The longer the beading, the more likely it is to snap.
Why Timber Beading Breaks During Reglazing or Repairs
If you’ve ever tried to reglaze or repair a timber window, you’ll know how fragile those thin strips of beading can be. Over time, timber loses moisture and becomes dry and brittle, which makes it far less flexible than when it was first installed. That’s why even with careful handling, timber window bead replacement is often unavoidable. The wood simply doesn’t bend the way it used to.
When beading is prised off to remove or replace the glass, it can easily split or snap. In fact, there’s roughly an 80% chance of breakage during removal, especially on older windows where the timber has already weathered over the years.
Expert tip: Even with careful removal, older timber beads often snap because the wood fibres have dried and lost flexibility.
This is completely normal and part of the natural ageing process of timber. Understanding this helps you plan ahead for repairs, whether you’re restoring an old heritage window or simply maintaining your home’s character.
What are your options if the timber beads break while reglazing a window?
Two main options are possible.
1. Replace the bead with brand new beading
Although this sounds like the most obvious option, there are a few things to consider.
Match the existing timber
- Firstly, whether you can match the existing timber in the window, both type and colour. You may be lucky and fit a match to your window at a local hardware store. However, for many homes which are older, there is a chance that the timber beading does not exist anymore for purchase.
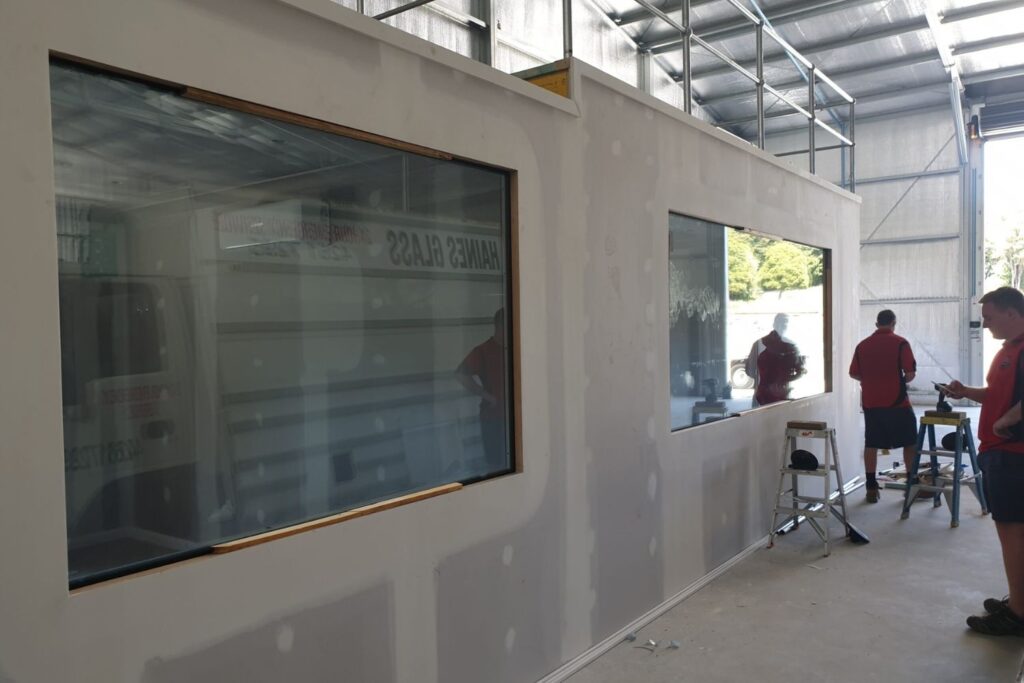
- Which then lead you to the option of making it by hand. When the new beading must be handmade it takes a significant amount of time and can be a very tedious task. Often this results in snapping of the new beading several times before getting it right. If in the instance timber beading does break and you would like new beading to have it replaced, as additional cost of $170 will be added to the bill to cover the time and expenses of materials and labour to install brand new beading.
Why is this cost quite expensive?
You must consider in order to create more timber beading, a length of timber must be selected from a hardware store. Use a saw to cut a thin section of the timber (generally using one of the corner edges of the length of timber) to the desired length of the window. Then gently using some sandpaper, sand it back until an edge that matches existing beading from the corner is created. You must apply minimal pressure otherwise the beading may snap. The thickness of the timber that you are creating is the tricky part here. If too thin, it will be too flimsy to work with. If too thick, it will look out of place, or need more work in order to fit into the window. When considering these factors, it is easy to see why the cost adds up.
2. Re-insert the original snapped timber bead
What is the more cost effective method, both time wise and for product matching? It is to re-insert the original snapped timber bead. Use some timber putty to fill in the crack where the bead had snapped. Wait until it dries and then sand it back. This will generally match the colour relatively well. However, if it doesn’t, the best thing is to paint over the beading so all the colour matches. Even timber staining can be enough to patch up the difference. Most customers often chose that option, because once it is finished there is not too much of a difference in the final finish.
How to Protect and Maintain Timber Beading on Windows
A little maintenance goes a long way in keeping your timber beading strong and looking its best. The goal is to protect the wood from moisture, sunlight, and wear so it lasts for decades without cracking or splitting.
Start by keeping your timber sealed with a quality varnish, paint, or wood stain. This adds a protective layer that prevents water from soaking into the grain. Avoid moisture buildup by checking that sealants and joints around the glass are intact, and wipe the area quickly after rain. When cleaning, go gently; use a soft cloth and mild cleaner instead of scraping or scrubbing, which can weaken the timber’s edges. Inspect your windows at least once or twice a year for cracks or loose sections. Catching early signs of damage makes repairs easier and far less costly.
Frequently Asked Questions
Can I replace the timber window beading myself?
You can replace small sections if you’re handy, but for a proper fit and finish, it’s best to have a professional handle it. They will make sure the bead sits snugly and seals perfectly.
How do I know if my timber window bead needs replacing?
Look for signs like loose edges, flaking paint, water stains, or tiny gaps around the glass. These often mean the beading has weakened or started to rot.
What timber is best for window beading?
Hardwoods such as Meranti, Oak, or Jarrah are ideal because they are dense and durable. But for the best look, always try to match the timber used in your existing window frame.
How long does timber beading last?
With proper sealing and regular maintenance, timber beading can last decades. However, exposure to moisture and sunlight can shorten its lifespan if left untreated.
Can I repaint the timber beading after repair?
Absolutely. A fresh coat of paint or stain not only hides small repairs but also helps protect the wood from future damage.
Keep Your Timber Windows Looking Timeless
Well-maintained timber windows can last a lifetime, including the beading. Keeping it sealed, clean, and regularly checked ensures your windows stay beautiful, efficient, and structurally sound.
If your timber beading has cracked, warped, or snapped during a reglazing job, do not worry. It is a common issue and can be completely fixed. Contact our team of glass specialists for expert timber window bead replacement and restoration, bringing your windows back to life with a seamless finish.


